The Export Promotion Mission (EPM), approved by the Government of India in November 2025, is…

From Microns to Minutes: The Speed and Accuracy of Vision-Based Inspection
In the relentless pursuit of miniaturization and precision across industries, the accurate measurement of micro-tools and indexable inserts has become paramount. These tiny yet critical components demand inspection methods that go beyond the capabilities of traditional tactile probes. Vision systems have emerged as a powerful and increasingly essential technology in this domain, offering non-contact, high-resolution measurement solutions that are transforming quality control processes, particularly for manufacturers in regions like Thane, Maharashtra, known for their growing precision engineering sectors.
Traditional tactile methods often struggle with the delicate nature and intricate geometries of micro-tools and inserts. The physical contact can introduce measurement errors or even damage the parts themselves. Vision systems, however, utilize optical sensors and sophisticated image processing algorithms to capture detailed dimensional data without any physical contact. This non-contact approach is crucial for ensuring the integrity of these delicate components while achieving the required accuracy.
The adoption of vision systems in tool inspection is on a significant upward trend. The global market for industrial machine vision systems is projected to reach over 20 billion USD by 2027, with a compound annual growth rate exceeding 9%. This growth is fueled by the increasing demand for high-precision manufacturing in sectors such as electronics, medical devices, and aerospace – all industries that heavily rely on micro-tools and inserts. Within this market, vision systems tailored for metrology and quality control are a key segment.
One of the primary advantages of vision systems is their ability to rapidly capture a large amount of data across the entire surface of a micro-tool or insert. High-resolution cameras and telecentric lenses ensure accurate imaging, while advanced software can perform a wide range of measurements, including linear dimensions, angles, radii, and complex geometric features. This comprehensive data acquisition allows for a more complete understanding of the part’s characteristics compared to point-by-point tactile measurements.
For manufacturers in Thane, specializing in the production of intricate components for automotive or medical applications, vision systems offer a significant advantage in maintaining stringent quality standards. The ability to quickly and accurately inspect the complex profiles of indexable inserts used in CNC machining, or the fine cutting edges of micro-drills and end mills, directly translates to improved product quality, reduced scrap rates, and enhanced process control.
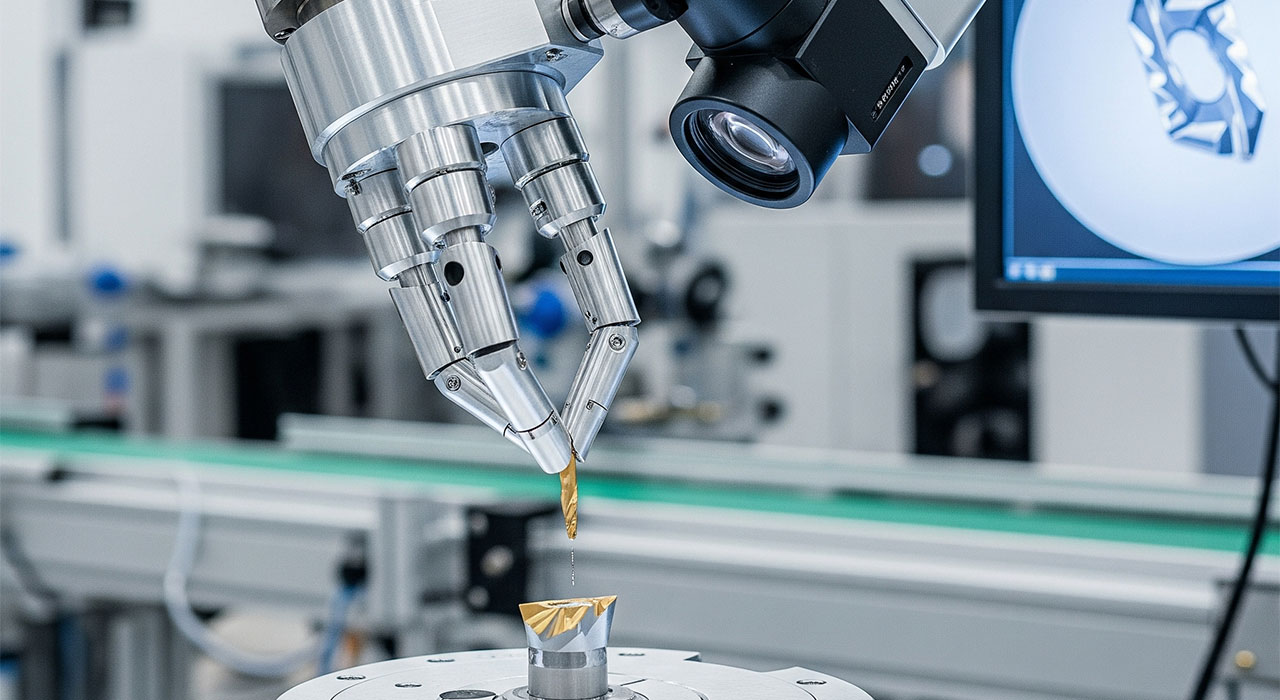
The integration of automation further enhances the efficiency of vision-based inspection. Many modern vision systems can be integrated with robotic handling systems, allowing for automated loading, inspection, and sorting of micro-tools and inserts. This not only increases throughput but also reduces the potential for human error in the inspection process, contributing to more consistent and reliable quality assurance.
The software capabilities of modern vision systems are equally critical. Advanced image analysis tools, including edge detection, pattern recognition, and sub-pixel interpolation, enable highly accurate measurements even on complex or poorly defined features. Furthermore, the ability to generate detailed reports and statistical process control (SPC) data provides valuable insights for process optimization and continuous improvement initiatives.
While the initial investment in a sophisticated vision system may seem significant, the long-term benefits for manufacturers dealing with micro-tools and inserts are substantial. The increased accuracy, speed, and automation capabilities lead to significant cost savings through reduced defects, improved efficiency, and enhanced product quality. As the demand for miniaturization and precision continues to grow across industries, vision systems will undoubtedly play an increasingly vital role in the measurement and quality control of micro-tools and indexable inserts, empowering manufacturers in Thane and globally to meet the challenges of modern manufacturing.


